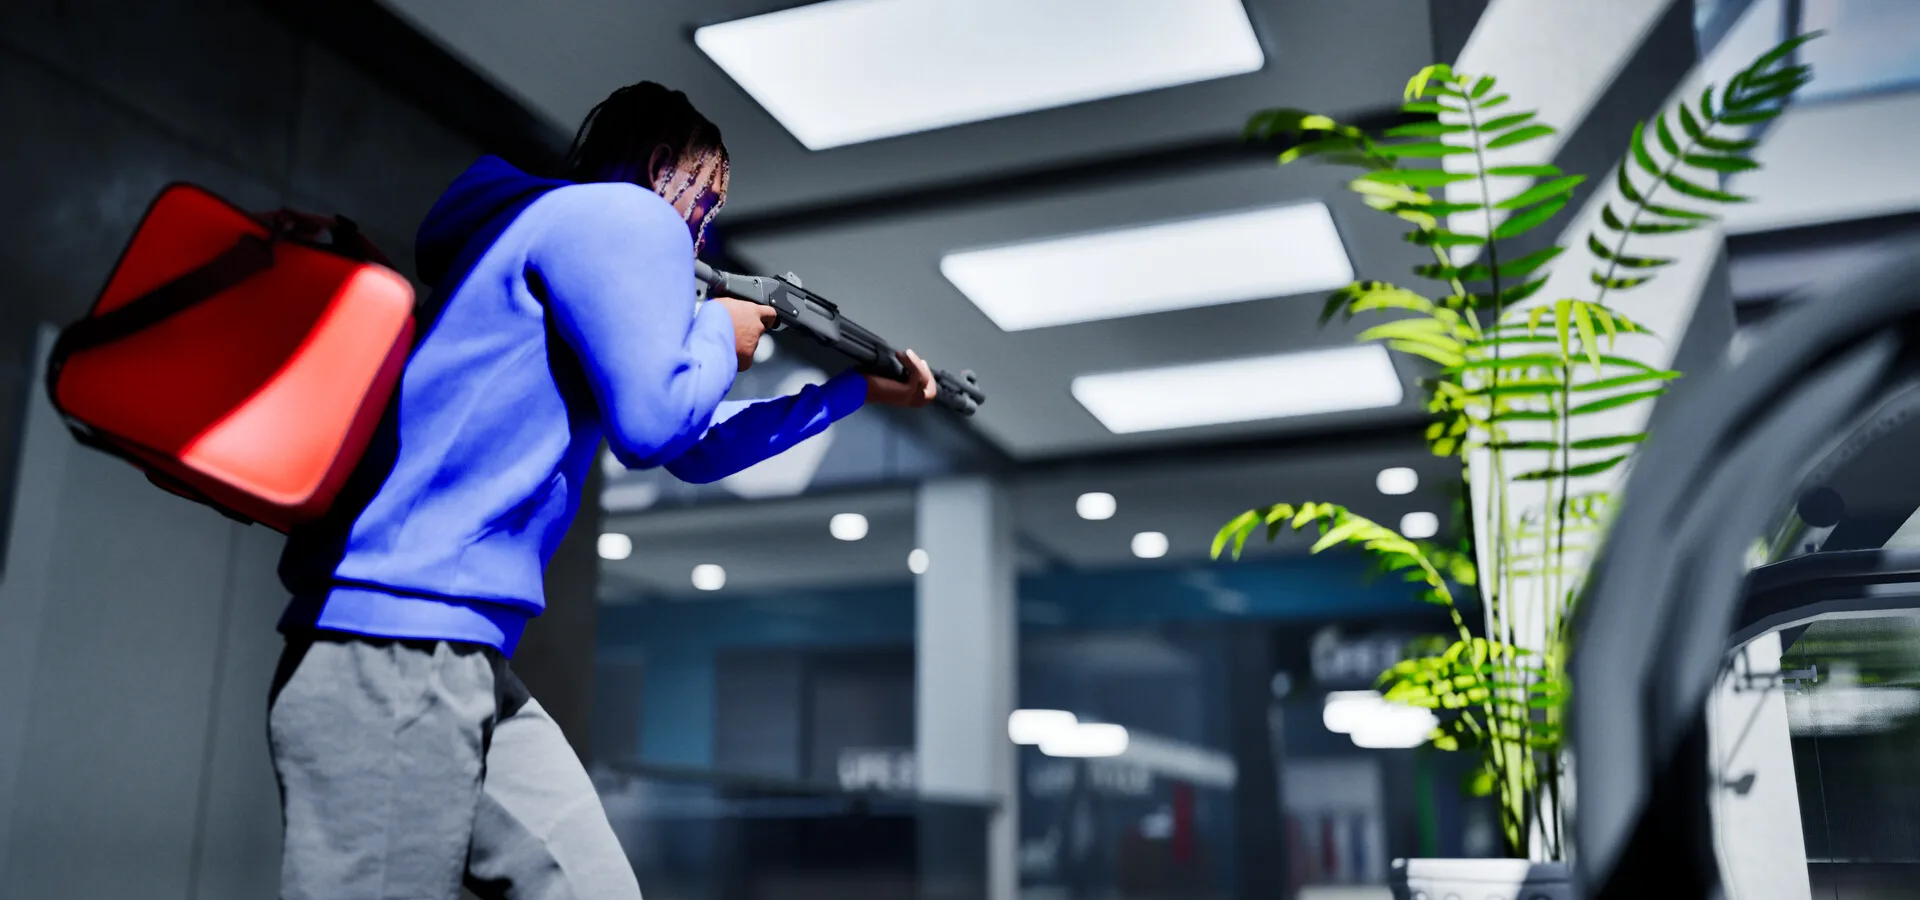
- Hood Warfare 2 loadouts combine a primary weapon, attachments, perks, and equipment for each match.
- Match your setup to the map: Chicago Mall favors close-range builds, Downtown rewards mid-range control.
- Attachment priority: optic first, then magazine capacity, then grip or suppressor.
- Perks support your role, not your ego — objective play beats solo kill chasing.
- Weapon challenges unlock more attachments, so focus one gun at a time.
How the Hood Warfare 2 Loadout System Works
In Hood Warfare 2, your loadout is the combination of a primary weapon, weapon attachments, perks, and equipment that you bring into each match. According to the official Steam page, the game supports full weapon customization including sights, magazines, grips, and suppressors, alongside a perk and equipment system that shapes your combat role.
Loadouts are unlocked and expanded through match progression. Playing multiplayer matches earns experience, raises your player level, and opens access to additional weapons and equipment. Weapon challenges then unlock attachments and skins for individual guns.
Build around the fights you actually take, not the fights you imagine. If you keep dying in Chicago Mall corridors, a long-range setup is wasted — switch to a fast-handling close-quarters build instead.
| Loadout Component | What It Does | Unlock Source |
|---|---|---|
| Primary weapon | Defines your damage, range, and handling profile | Player level and progression |
| Attachments | Tune optics, recoil, ammo capacity, and noise | Weapon challenges |
| Perks | Passive combat benefits that support your playstyle | Progression unlocks |
| Equipment | Tactical tools for pushes, defense, and objectives | Progression unlocks |
| Skins | Cosmetic appearance, no stat impact | Weapon challenges |
Best Loadout Setups by Combat Scenario
Every Hood Warfare 2 map and mode pushes you toward a different engagement range. Downtown mixes open streets with dense building fronts, Suburbs rewards careful mid-range peeking, The Trenches compresses fights into narrow lanes, and Chicago Mall is almost pure close-quarters combat. These five loadout archetypes cover the full spectrum.
Close-Range Assault
- Fast-handling weapon for short-distance fights
- Clear close-range optic, extended magazine, recoil grip
- Equipment for fast pushes and room clearing
- Best on: Chicago Mall, The Trenches interiors
Mid-Range Suppression
- Controllable weapon reliable at medium distances
- Target-acquisition optic, stabilizing grip, larger magazine
- Tools that hold lanes and deny movement
- Best on: Downtown, Suburbs
Objective Team Support
- Dependable all-round weapon for pushes and retreats
- Balanced accuracy, ammo, and handling attachments
- Equipment that protects carriers and holds positions
- Best on: Turf War, Hit A Lick
Elimination Focus
- Duel-winning setup for one-on-one fights
- Optic, magazine, grip, and suppressor tuned to your range
- Perks for survivability and finishing isolated targets
- Best on: Chaos, Chain Snatch
Stealth and Flanking
- Suppressed, mobile build for surprise attacks
- Suppressor, fast-handling parts, clear mixed-range optic
- Tools for hidden approaches and rapid escapes
- Best on: Suburbs side routes, Downtown alleys
| Scenario | Attachment Priority | Perk/Equipment Focus | Risk Level |
|---|---|---|---|
| Close-Range Assault | Optic, magazine, grip | Push and recovery tools | High |
| Mid-Range Suppression | Optic, grip, magazine | Lane control and denial | Medium |
| Objective Support | Balanced across all slots | Carrier protection | Low |
| Elimination Focus | Full custom tune | Survivability, mobility | Medium-High |
| Stealth Flanking | Suppressor, handling | Escape and repositioning | High |
Do not build a close-range loadout and then fight across Downtown's open streets. Your attachments define your effective range — if you are losing every long-distance duel, the loadout is the problem, not your aim.
Mode-Specific Loadout Recommendations
Each of Hood Warfare 2's six modes changes the pace and priorities of a match, and your loadout should change with them. Turf War rewards area control, GangBang is direct team combat, Chaos throws unpredictable fights at you, Hit A Lick is objective-focused, Destroy The Block rewards aggressive pushes, and Chain Snatch tempts you into unsupported fights while carrying valuables.
| Mode | Recommended Build | Key Adjustment |
|---|---|---|
| Turf War | Objective Team Support | Balanced attachments, hold-position equipment |
| GangBang | Close-Range Assault | Trade-kill efficiency, crossfire-friendly grip |
| Chaos | Elimination Focus | Survivability perks over damage perks |
| Hit A Lick | Objective Team Support | Escape tools, carrier-protection equipment |
| Destroy The Block | Mid-Range Suppression | Sustained ammo for target destruction |
| Chain Snatch | Stealth and Flanking | Mobility tools, avoid heavy slow builds |
Never carry valuable chains into unsupported fights. If you are holding the objective, switch your positioning habits immediately — play beside teammates and disengage the moment enemy reinforcements appear.
Building Your Loadout: Step-by-Step
Pick Your Primary Range
Decide whether you fight best up close, at mid-range, or from unexpected angles. This single decision drives every other choice in the loadout.
Earn Match Experience
Play multiplayer matches and contribute to objectives. Match experience raises your player level and opens access to more weapons and equipment options.
Focus One Weapon's Challenges
Commit to a single weapon and work through its challenge objectives. Repeated use builds handling familiarity while challenge progress unlocks attachments and weapon-specific rewards.
Attach for Consistency
Start with the optic that gives you the clearest sight picture at your range, then add magazine capacity, then recoil control. Consistency beats raw damage.
Test in Real Matches
Try the setup across different modes and maps. Keep the configuration that helps you survive pushes, support teammates, and win your most frequent fights.
Weapon challenges are the fastest route to a stronger loadout. Focus one gun at a time in the modes that match its range — close-range guns in Chicago Mall, mid-range guns in Downtown — and challenges complete naturally.
Loadout Readiness Checklist
Before Your Next Match:
- Primary weapon matches my most common engagement range
- Optic provides a clear sight picture at that range
- Magazine and grip attachments equipped and tested
- Perks support my role, not just raw damage
- Equipment covers objective play and escape situations
After every losing streak, ask one question: did my loadout fit the map and mode? Adjusting the build is usually faster than adjusting your aim.
Frequently Asked Questions
Q: What is the best loadout in Hood Warfare 2?
There is no single best loadout. The strongest setup depends on the map and mode: close-range assault builds dominate Chicago Mall, mid-range suppression builds control Downtown, and objective support setups perform best in Turf War and Hit A Lick. Match your build to the fights you take most often.
Q: How do I unlock more attachments for my weapons?
Attachments unlock through weapon challenges. Pick one weapon, use it consistently in matches, and complete its challenge objectives to earn attachments and weapon-specific rewards. Focusing a single gun at a time is faster than spreading progress across the arsenal.
Q: Should I use a suppressor on my loadout?
A suppressor is most valuable on stealth and flanking builds, where hiding your firing position lets you attack from unexpected routes and escape after the flank. For front-line objective play, the noise rarely matters, and other attachments may serve you better.
Q: Do weapon skins affect gameplay?
No. Skins and cosmetics are purely visual and are tracked separately from combat progression. Complete the listed requirements in weapon challenges to unlock them, then apply them through the customization menu.