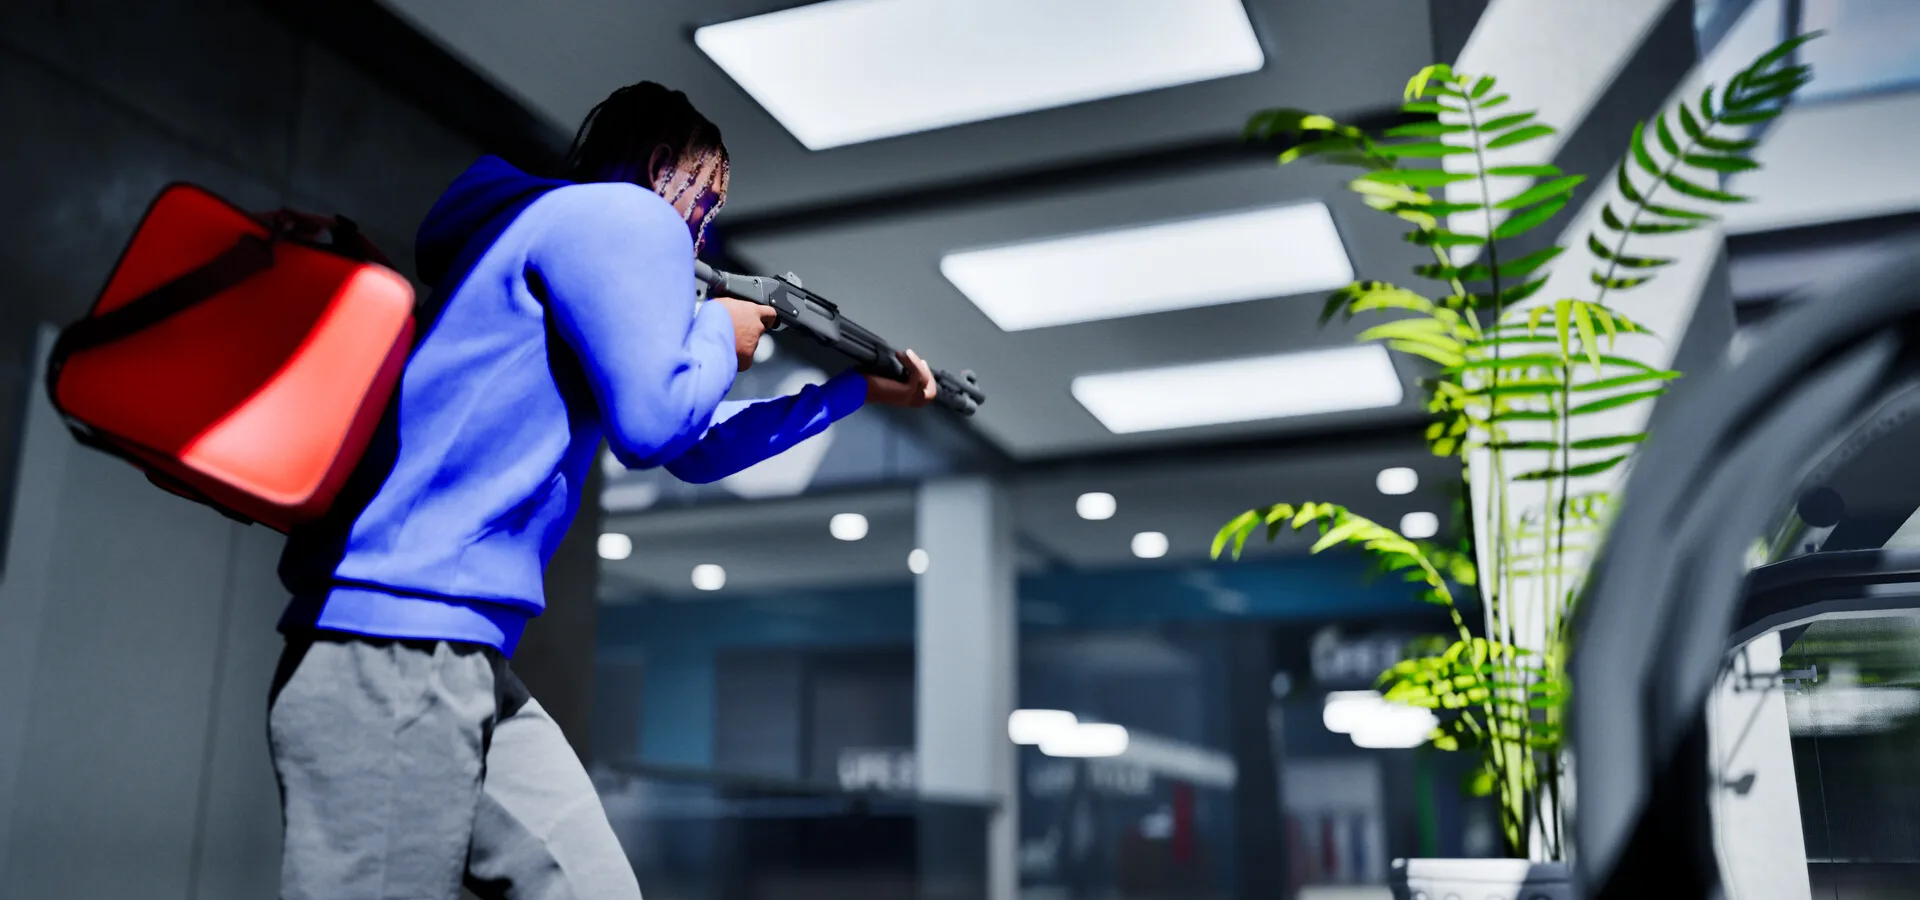
- No hero roster: Hood Warfare 2 is a class-free FPS — your "character" is your loadout, perks, and equipment.
- Best overall build: Mid-range suppression with a controllable weapon, stabilizing grip, and extended magazine.
- Best close-quarters build: Fast-handling weapon, close-range optic, and gear that supports room clearing.
- Best objective build: Balanced attachments and equipment that protect carriers during Turf War and Hit A Lick pushes.
- Progression matters: Weapons, attachments, and perks unlock through levels and weapon challenges.
How "Characters" Work in Hood Warfare 2
Before ranking anything, one clarification matters: Hood Warfare 2 does not use a hero or class-based character system like some arena shooters. Based on the official Steam page, you choose a gang side, then define your fighter through three layers:
| Layer | What It Controls | Where It's Set |
|---|---|---|
| Faction | Your team side in red-versus-blue gang combat | Match lobby |
| Weapon + Attachments | Damage, range, handling, optics, magazines | Loadout menu |
| Perks + Equipment | Survivability, mobility, objective support | Loadout menu |
That means the "best character" question really becomes: which loadout playstyle wins the most fights across the six game modes? That is exactly what this guide ranks.
Do not copy a single "meta build" and expect it to work everywhere. Chicago Mall interiors, Downtown streets, and The Trenches lanes reward very different setups. Match your build to the map and mode first.
Playstyle Tier Rankings
These rankings weigh versatility across all six modes — Turf War, GangBang, Chaos, Hit A Lick, Destroy The Block, and Chain Snatch — plus performance on all four maps.
| Tier | Playstyle | Best Modes | Best Maps | Overall Rating |
|---|---|---|---|---|
| S | Mid-Range Suppression | Turf War, GangBang | Downtown, Suburbs | ★★★★★ |
| S | Objective Team Support | Hit A Lick, Chain Snatch | The Trenches | ★★★★★ |
| A | Close-Range Assault | GangBang, Chaos | Chicago Mall | ★★★★☆ |
| A | Stealth and Flanking | Chain Snatch, Hit A Lick | Suburbs, Mall | ★★★★☆ |
| B | Personal Elimination Focus | Chaos | Downtown | ★★★☆☆ |
S-Tier: Suppressor
- Holds long sightlines on Downtown streets
- Sustained pressure around turf zones
- Anchor-and-relocate rhythm punishes pushers
S-Tier: Objective Anchor
- Protects carriers in Hit A Lick and Chain Snatch
- Trades kills beside teammates
- Balanced stats survive messy objective fights
A-Tier: Entry Fighter
- Dominates Mall interiors and trench crossings
- Fast handling wins corner duels
- Weak when caught in the open
Mid-range suppression is the most forgiving build for new players. It keeps you near teammates, works on every map, and directly contributes to the territory-control objectives that decide most Turf War matches — without requiring elite close-quarters reflexes.
Build Breakdown by Combat Role
Each build below follows the same structure the game provides: weapon focus, attachments, perks/equipment, and playstyle. Compare them side by side before spending unlock progress.
| Build | Weapon Focus | Key Attachments | Equipment Priority |
|---|---|---|---|
| Close-Range Assault | Fast-handling weapon for short fights | Close optic, extended mag, recoil grip | Push and recovery gear |
| Mid-Range Suppression | Controllable, reliable mid-distance weapon | Target-acquisition optic, stabilizing grip, large mag | Lane denial tools |
| Objective Team Support | Dependable all-round weapon | Balanced accuracy, capacity, handling | Carrier protection gear |
| Elimination Focus | Duel-winning setup | Optic, mag, grip, suppressor tuned to range | Survivability and mobility |
| Stealth Flanker | Quiet, maneuverable setup | Suppressor, fast handling, clear optic | Escape and approach tools |
Attachment priorities at a glance:
- Optic first — a clear sight picture improves every fight, at any range
- Magazine second — sustained pressure wins objective contests
- Grip third — recoil control matters most in rapid close fights
- Suppressor situational — essential for flanking builds, optional otherwise
Attachments and weapon skins come through weapon challenges and level progression, per the official Steam listing. Focus one weapon at a time rather than spreading progress across the whole arsenal.
Matching Your Build to Mode and Map
The same build can swing two tiers depending on where you deploy it. Use this matrix when queuing:
| Mode | Recommended Build | Map Tip |
|---|---|---|
| Turf War | Mid-Range Suppression | Hold side-street sightlines near turf zones |
| GangBang | Close-Range Assault | Trade kills with your squad, never peek alone |
| Chaos | Elimination Focus | Disengage when multiple enemies appear |
| Hit A Lick | Objective Team Support | Cover the carrier, use alternate escape routes |
| Destroy The Block | Mid-Range Suppression | Fire from cover, relocate after revealing position |
| Chain Snatch | Stealth Flanker | Never carry chains into unsupported fights |
Chicago Mall and The Trenches compress engagements into close and medium range — bring handling-focused builds. Downtown and Suburbs open up longer sightlines where optics and recoil control pay off.
Step-by-Step: Building Your Best Character
Pick Your Faction and Role
Choose your side and decide whether this match rewards territory, eliminations, robbery objectives, or destruction. Your role choice should follow the mode, not personal preference alone.
Build Around One Range
Commit to close, mid, or mixed range. A build trying to win every distance usually wins none of them.
Attach for Consistency
Apply your optic, magazine, and grip choices in that order. Prioritize accuracy and ammunition handling over flashy statistics.
Test in Real Matches
Run the setup across several matches on different maps. Keep equipment that helps you survive objective pushes and drop anything that goes unused.
Progress Your Signature Weapon
Complete weapon challenges to unlock further attachments and skins, deepening the build you already trust instead of restarting from zero.
Best Character Milestones:
- Settle on one primary combat range
- Complete the optic, magazine, and grip attachment set
- Win matches in at least three different modes with the same build
- Finish one full weapon challenge track
- Adapt equipment loadout per map (Mall vs. Downtown)
FAQ
Q: Does Hood Warfare 2 have selectable characters or heroes?
No. Based on the official Steam page, Hood Warfare 2 is a gang-versus-gang multiplayer FPS without a hero roster. Your 'character' is defined by your faction, weapon, attachments, perks, and equipment — so the best character is really the best loadout playstyle.
Q: What is the best character build in Hood Warfare 2 for beginners?
Mid-range suppression is the strongest starting build. It keeps you near teammates, works on every map, and directly supports territory-control objectives in Turf War while you learn routes and engagements.
Q: Which build is best for Chain Snatch?
A stealth and flanking build with a suppressor and fast-handling weapon fits Chain Snatch best. Move aggressively when chains drop, protect teammates carrying chains, and avoid taking valuable chains into unsupported fights.
Q: How do I unlock better attachments for my build?
Attachments unlock through player-level progression and weapon challenges. Play matches consistently, commit to one weapon at a time, and its challenge track will open up attachments and cosmetic rewards.